Montage leicht gemacht: How to properly install height-adjustable pendant lights
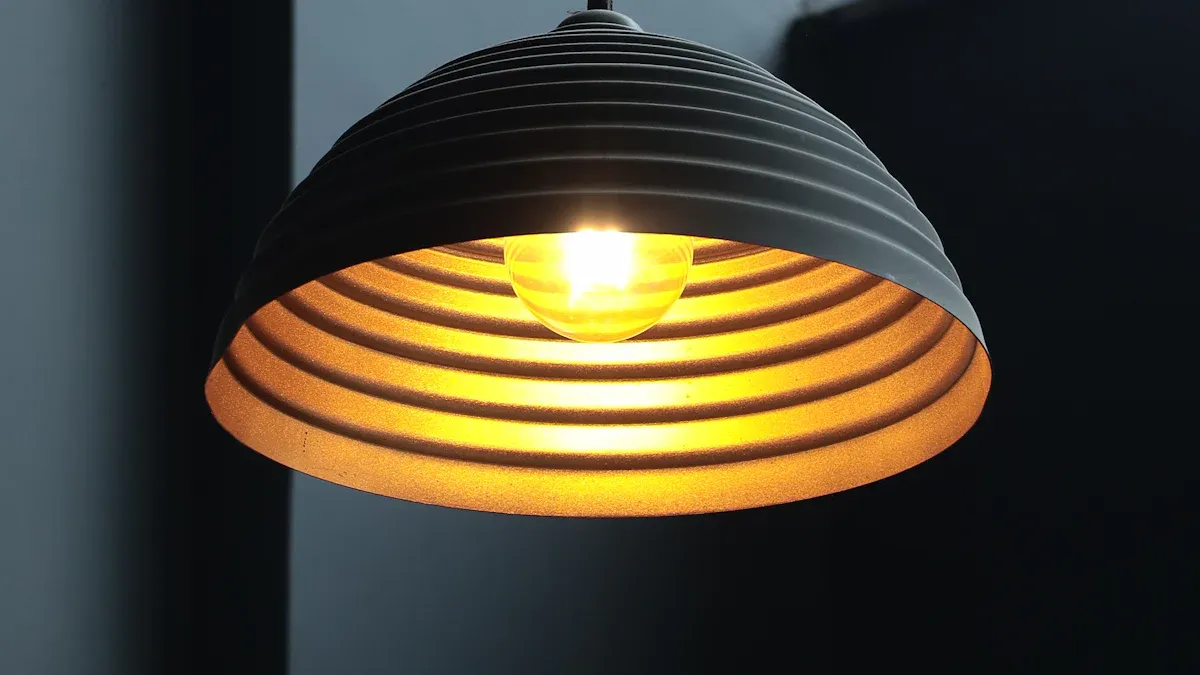
Height-adjustable pendant lights offer you a flexible solution for illuminating your space. You can adjust the height of the lamp to suit various situations, such as a cozy dinner or focused work. For optimal lighting, the distance between the table and the light should be 60 to 70 cm. With a height-adjustable pendant light, you can effortlessly achieve this ideal setting, ensuring pleasant light that is neither glaring nor too dim.
With the right lamp, you create the perfect atmosphere for any occasion.
Important Insights
-
Turn off the power before you start. Safety is paramount.
-
Choose the appropriate height for the lamp. 60–70 cm above the table is ideal.
-
Use the right tools and materials. Good planning aids in the assembly.
-
Regularly check the lamp for damage. This keeps it safe and durable.
-
Consult an expert if you are unsure. Professionals ensure safety.
Preparation
Required Tools and Materials
For the installation of a height-adjustable pendant light, you need the right tools and materials. Good preparation saves time and ensures a safe installation. Here is a list of the essential items:
-
Tools:
-
Screwdriver (Phillips and flathead)
-
Wire cutters
-
Voltage tester
-
Ladder
-
-
Materials:
-
The height-adjustable pendant light itself
-
Mounting materials (e.g., screws and anchors)
-
Cable cover or lamp canopy
-
💡 Tip: Before installation, check that all parts of the light are complete and undamaged. Missing or defective components can compromise safety.
Precise planning is also crucial. Choose the right location for the light. Ensure that it is not installed near water sources and that a suitable power source is available.
Safety Measures Before Installation
Safety should always come first during installation. Here are some important measures to consider:
-
Turn off the power: Switch off the power at the circuit breaker before you begin working. Use a voltage tester to ensure that there is no voltage present.
-
Prepare the work environment: Ensure that the workspace is well-lit and free of obstacles. A stable ladder is essential for safely working on the ceiling.
-
Regular maintenance: Statistics show that fires can occur due to overheating, often caused by defective components or poor heat dissipation. Therefore, regularly check the light for damage.
⚠️ Note: If you are unsure whether you can perform the installation yourself, consult a professional. A professional installation ensures safety and correct assembly.
Adhering to these safety measures protects you from accidents and ensures that your height-adjustable pendant light operates safely and efficiently.
Types of Height-Adjustable Pendant Lights
Height-adjustable pendant lights come in various designs that differ in their technology and functionality. Each variant offers specific advantages depending on your needs and the area of use.
Telescopic Pendants
Telescopic pendants are a popular choice when you need precise height adjustment. These models use an extendable rod that allows you to easily and stably adjust the height of the light.
-
Advantages:
-
The construction is robust and durable.
-
The height remains constant even with frequent adjustments.
-
Ideal for areas where you prefer a fixed position, such as above a dining table.
-
Some telescopic pendants offer additional features such as dimmable light sources or remote control. These technical extras make them particularly versatile.
💡 Tip: Ensure that the telescopic rod is made of high-quality materials to guarantee a long lifespan.
Pull Pendants
Pull pendants offer you maximum flexibility. They operate with a counterweight system that allows you to effortlessly pull the light up or down. This type of pendant light is excellent for spaces where you frequently want to adjust the height.
-
Technical Features:
-
Often equipped with multiple light sources to ensure even illumination.
-
Some models feature a dimming function that helps you adjust the brightness to the desired atmosphere.
-
Pull pendants are particularly practical in workspaces or kitchens, where you need different lighting conditions depending on the activity.
Cable Wrapping as an Alternative
Cable wrapping is a simple and cost-effective alternative to telescopic and pull pendants. In this method, the cable of the light is wrapped around a holder to manually change the height.
-
Advantages:
-
Lower price compared to other models.
-
Easy to install and operate.
-
However, this method offers less stability and precision. It is therefore more suitable for decorative purposes or rooms where the height is rarely adjusted.
⚠️ Note: When using cable wrapping, ensure that the cable is not damaged to maintain safety.
Each of these variants has its own strengths. Choose the one that best fits your space and requirements.
Step-by-Step Installation Guide
Turn Off the Power and Remove the Old Light
Before you begin the installation, you must turn off the power. Go to the circuit breaker and switch off the corresponding circuit. Use a two-pole voltage tester to ensure that there is no voltage present in the wires. This protects you from electric shocks and ensures a safe working environment.
Once the power is off, remove the old light. Unscrew the ceiling canopy and disconnect the wire connections. Be careful to separate the wires gently to avoid damage. Check the wires in the ceiling. Modern lights typically require three wires: phase (brown), neutral (blue), and ground (yellow/green). If you only find two wires, an upgrade may be necessary.
⚠️ Note: Visually and with a measuring device, check the fuses to ensure they are functioning properly.
Securely Attach the Mounting Bracket
The mounting bracket is the foundation of your height-adjustable pendant light. Secure it to the ceiling to ensure stability. First, unscrew the mounting bracket from the new light. Use appropriate screws and anchors to attach the bracket to the ceiling or the junction box.
|
Step |
Description |
|---|---|
|
1 |
Attach the mounting bracket with screws to the ceiling. |
|
2 |
Ensure that the bracket is secure and can support the weight of the light. |
|
3 |
Check the load-bearing capacity of the ceiling, especially with suspended ceilings. |
💡 Tip: Have a second person assist you in holding the bracket. This makes the work easier and ensures greater precision.
Connect the Wires Correctly
Once the bracket is securely attached, you can connect the wires. Match the ceiling wires to the corresponding wires of the light:
-
Connect the live wire (brown) to the live wire of the light.
-
Connect the neutral wire (blue) to the neutral wire of the light.
-
Connect the ground wire (yellow/green) to the ground of the light.
Use electrical tape to secure the connections. Ensure that no bare wire ends are visible. This prevents short circuits and ensures safe current flow.
⚠️ Note: If you are unsure whether the wiring is correct, consult an electrician. A faulty connection can lead to damage or hazards.
With these steps, you have laid the foundation for installing your height-adjustable pendant light. In the next step, you can secure the light and adjust the desired height.
Secure the Light and Adjust the Height
Once the wires are correctly connected, you can securely attach the height-adjustable pendant light. Carefully place the light into the mounting bracket. Ensure that it is firmly seated and does not wobble. Tighten the screws evenly to ensure a stable attachment.
Adjusting the height is the next step. Depending on the model, various mechanical systems are available that allow for precise height adjustment. Here is an overview:
|
Mechanical System |
Description |
|---|---|
|
Height adjustment with counterweight |
These systems use counterweights to adjust the height of the pendant light. |
|
Pull cord mechanism |
With a pull cord mechanism, pendant lights can be adjusted continuously in height. |
|
Side adjustment |
Some models offer the ability to adjust the pendant light sideways to ensure optimal illumination. |
Select the desired height by operating the corresponding system. For dining table lighting, a distance of about 60 to 70 cm between the table and the light is recommended. This height ensures pleasant light distribution without glare.
💡 Tip: Test the height adjustment several times to ensure that it operates smoothly and the light remains stable.
Conduct a Function Test
Before you complete the installation, conduct a function test. Turn the power back on and check whether the height-adjustable pendant light functions properly. Ensure that the light shines evenly and that there are no flickers or interruptions.
Also test the height adjustment. Pull the light up and down to ensure that the mechanical system works flawlessly. If you have a model with a dimming function, check the brightness control.
⚠️ Note: If problems arise, turn the power off immediately and check the wiring and attachment. Consult an electrician if you are uncertain.
A successful function test gives you the assurance that your height-adjustable pendant light is safely installed and functioning optimally.
Placement and Maintenance
Optimal Height for Different Rooms
The correct placement of your height-adjustable pendant light is crucial for optimal lighting and atmosphere. Different rooms require different heights to maximize functionality and aesthetics.
Here is an overview to help you determine the ideal height for various applications:
|
Application |
Recommended Height (cm) |
Notes |
|---|---|---|
|
Pendant light kitchen island |
76–91 |
Focused light without visual obstruction |
|
Pendant light dining table modern |
71–86 |
Good lighting and space for conversations |
|
Hanging lamp living room |
173–183 |
Inviting atmosphere and clear sightlines |
|
General ceiling height |
30–51 |
12–20 cm below at 2.4 m ceiling height |
💡 Tip: Consider the wall and ceiling colors in your room. Light colors reflect more light, while dark colors require up to 50% more power to achieve the same level of illumination.
If you do not fully utilize the height of your rooms, hang the lights lower. This saves energy and reduces the number of lamps needed. Adjusting the light height from 2.5 to 2 meters can allow for up to 20% energy savings.
Cleaning and Maintenance of the Height-Adjustable Pendant Light
Regular maintenance extends the lifespan of your height-adjustable pendant light and ensures consistent light quality. With these simple steps, your light will remain in top condition:
-
Regular dusting: Remove dust to maintain light performance.
-
Cleaning the shades:
-
Glass pendant light: Use glass cleaner or a mixture of vinegar and water.
-
Fabric pendant light: Gently vacuum or use a lint roller.
-
Metal pendant light: Wipe with a damp cloth and dry thoroughly.
-
Wood pendant light: Clean with a soft, dry cloth.
-
-
Check the bulbs: Replace defective bulbs to maintain lighting.
-
Inspect wiring and connections: Check cables and connections every few months.
-
Polish if necessary: Use a polishing cloth for metallic surfaces.
⚠️ Note: Do not neglect maintenance. Studies show that regular care significantly extends the lifespan of pendant lights.
With these measures, your height-adjustable pendant light will remain not only functional but also visually appealing.
Installing a height-adjustable pendant light is easier than you might think. With the right preparation, the appropriate tools, and a clear step-by-step guide, you can safely and efficiently mount your new light.
Key Tips Summarized:
-
Safety first: Turn off the power and check the wires.
-
Work precisely: Secure the bracket firmly and connect the wires correctly.
-
Adjust height: Choose the optimal height for your space.
💡 Tip: If you are unsure, do not hesitate to hire a professional. This ensures that everything works perfectly and you enjoy your light for a long time.
With these insights, you can enrich your home with stylish and functional lighting.
FAQ
How do I safely turn off the power?
Go to the circuit breaker and switch off the corresponding circuit. Use a voltage tester to ensure that there is no voltage present. Safety comes first.
What height is ideal for a pendant light over the dining table?
The optimal height is between 60 and 70 cm above the table. This setting ensures pleasant light distribution and prevents glare.
Can I perform the installation without a professional?
Yes, if you follow the instructions carefully and adhere to safety measures. However, if you are uncertain, you should consult an electrician.
How do I clean a glass pendant light?
Use a glass cleaner or a mixture of vinegar and water. Gently wipe the surface with a soft cloth to avoid scratches.
What should I do if the height adjustment does not work?
Check the mechanical system for blockages or damage. Test the function carefully. If the problem persists, contact the manufacturer or a professional.